


Key Takeaways About Pool Equipment Inspections
Pool equipment inspections check pumps filters heaters and controls to find leaks wear and performance issues. This summary is for homeowners and property managers who need timely maintenance before heavy use or failure.
- Identify circulation restrictions by checking flow and return performance.
- Prevent leaks by inspecting seals unions and visible piping joints.
- Avoid equipment failure by noting unusual sounds temperatures and vibrations.
- Spot worn components through visual comparison and simple functional tests.
- Reduce energy and chemical waste with early sensor and filter fixes.
- Plan repairs using recorded readings photos and recommended action items.
Introduction
Regular pool equipment inspections reveal problems before they become expensive failures. Owners often notice odd sounds, slow circulation, or cloudy water first. Those early signs can point to pump, filter, or heater issues. In San Clemente, California many homeowners rely on steady equipment performance for backyard use.
Circulation problems are common and can hide behind mild symptoms like longer fill times. Poor flow reduces chemical distribution and raises algae risk. Inspections can measure flow and check skimmer and return function. For properties in Laguna Niguel, California unattended circulation issues can worsen quickly during heavy use.
Leaks and worn components cause unexplained water loss and higher utility bills. Technicians look for wet spots, low pressure, and parts showing corrosion or cracks. Identifying a failing seal, check valve, or pipe joint early limits damage to decking and equipment. Unusual equipment performance often signals a part nearing the end of its useful life.
Inspections also uncover developing issues that need scheduled maintenance or professional repair. A technician will record readings, take photos, and note repair recommendations for your decisions. Acting on those findings prevents emergency breakdowns and preserves equipment lifespan. Knowing what an inspection reveals helps homeowners prioritize repairs and budget effectively.
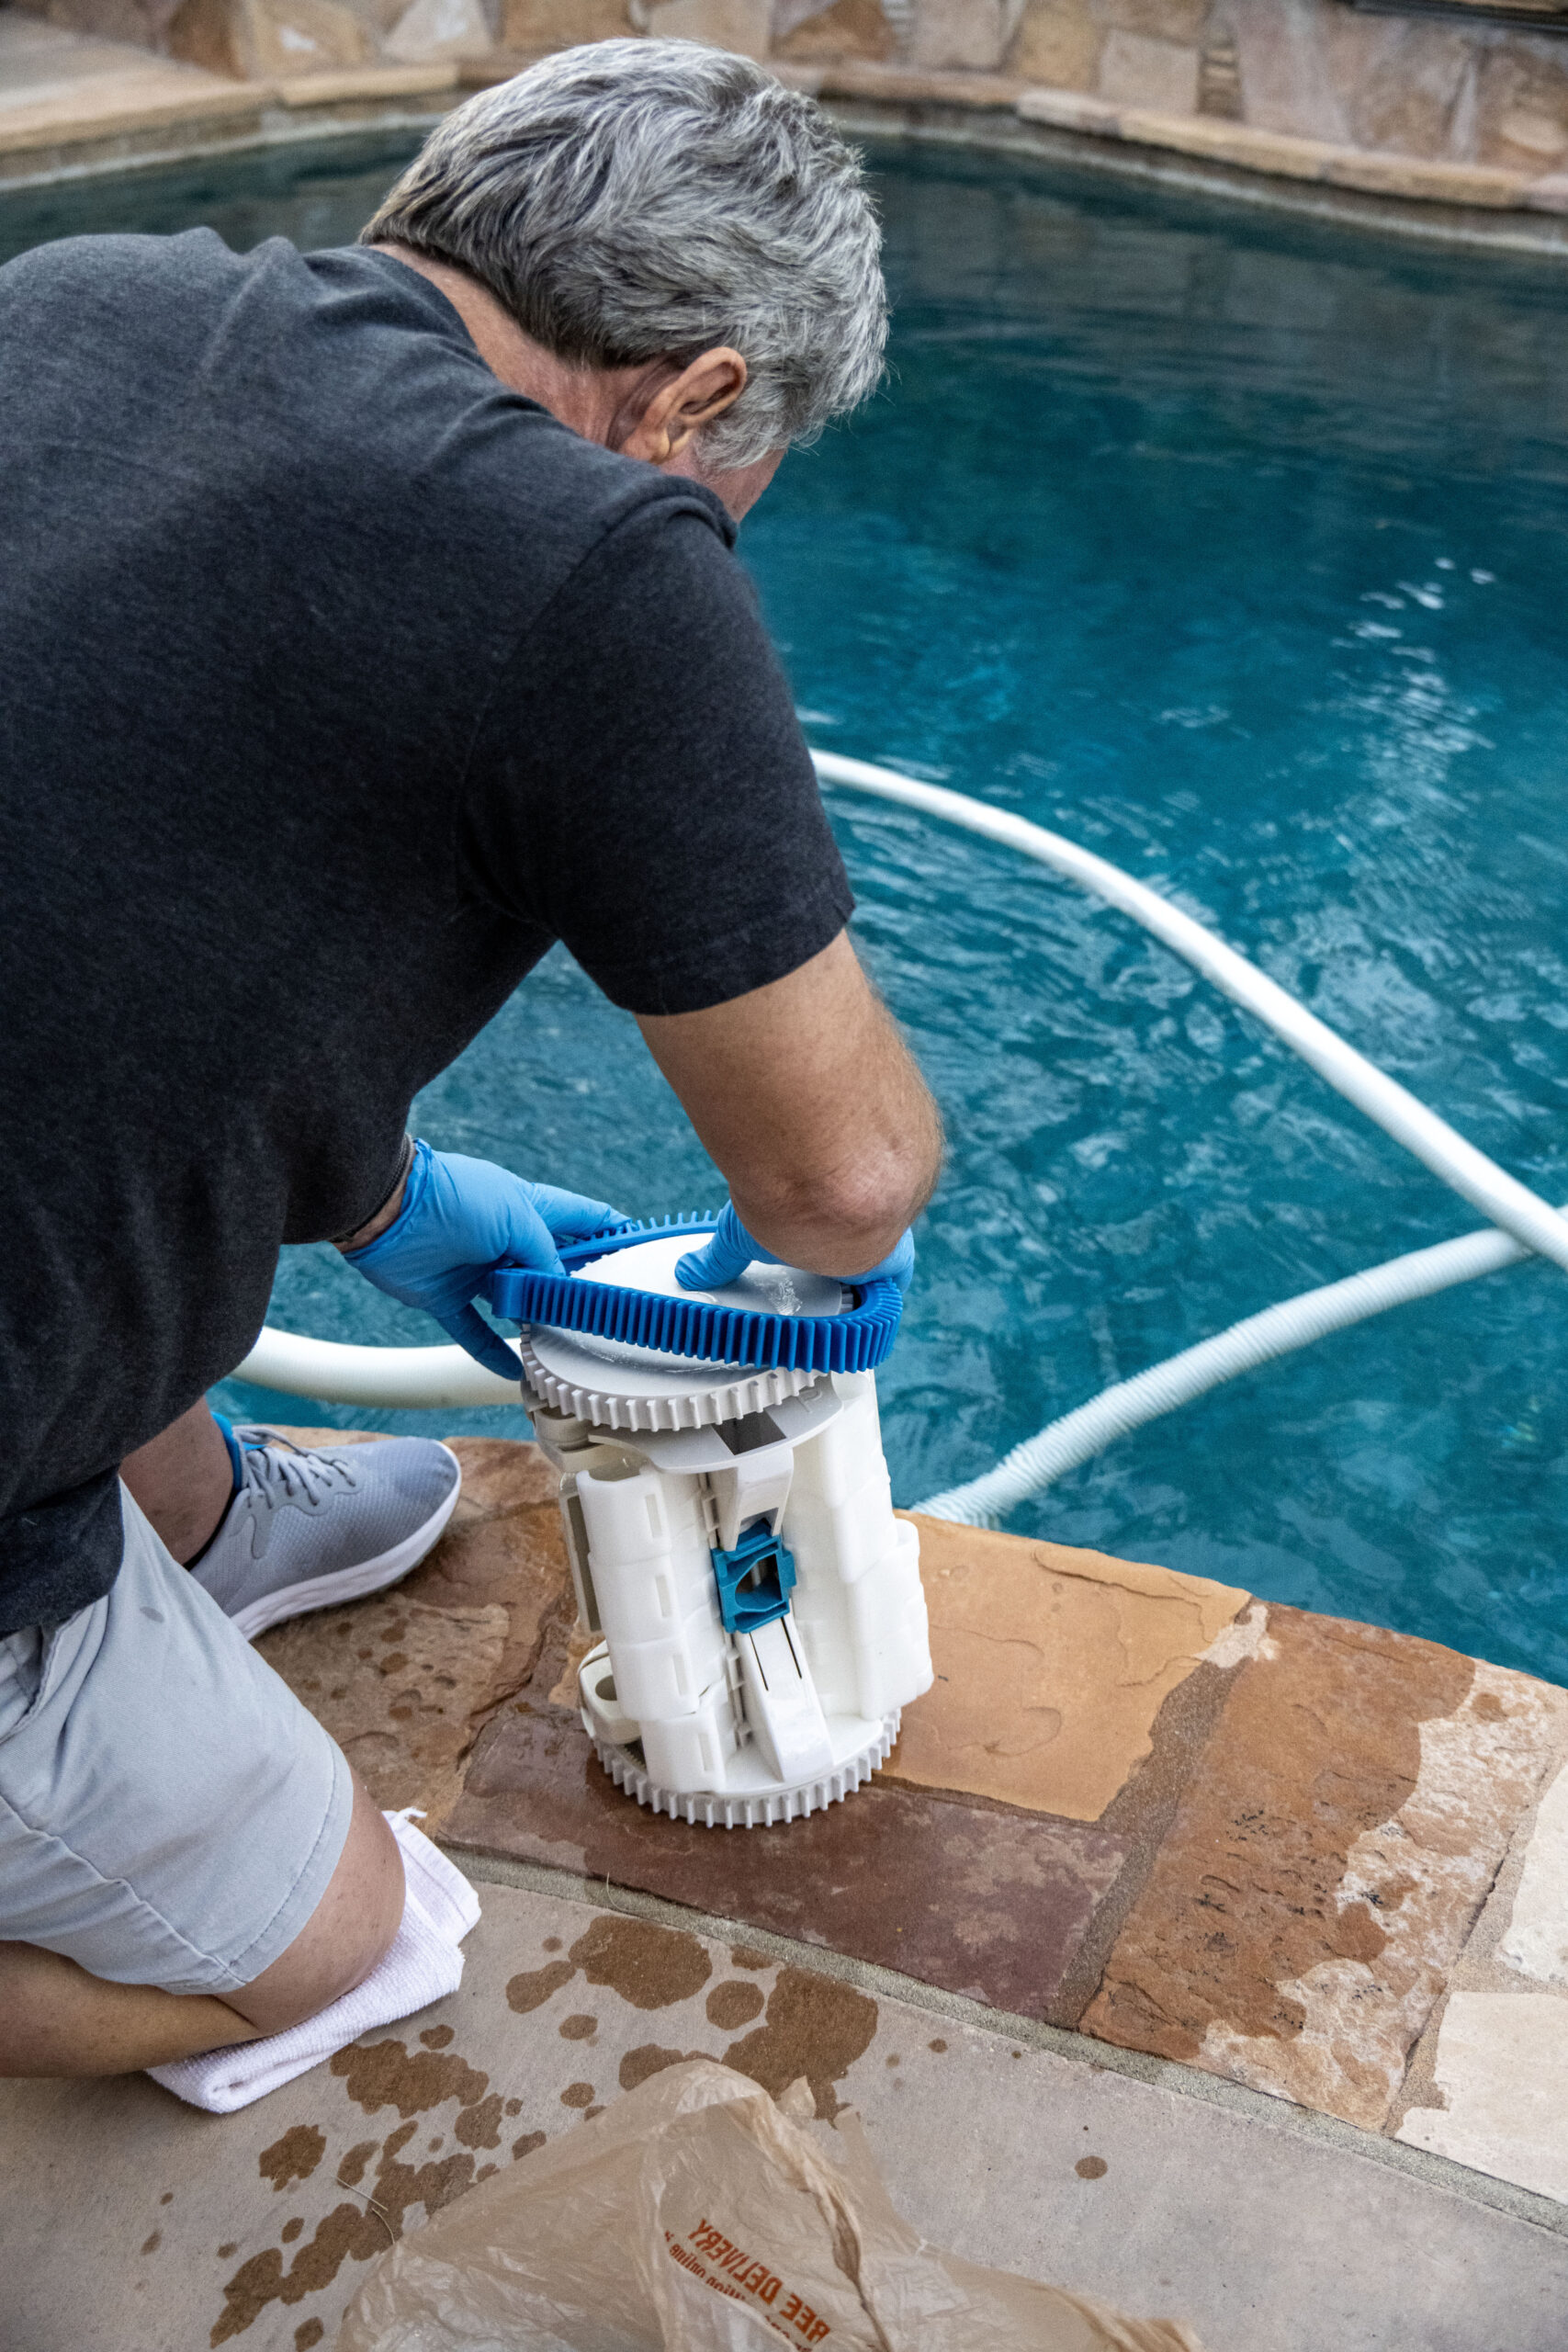
How Pool Equipment Inspections Reveal Circulation Issues
How pool equipment inspections reveal circulation issues means measuring flow, observing returns, and tracing where water movement is restricted.
- Check pump suction and discharge flow
- Inspect skimmer and hair/debris traps
- Examine return jets for steady flow
- Look for air in lines or noisy operation
- Note pressure readings at the filter
Technicians often answer the homeowner question “Why is my water moving slowly?” by checking pump basket clogs and impeller condition first. They will also read the filter pressure gauge and compare it to normal operating numbers. A common quick test uses a pressure gauge on the suction and return lines to find drops. These steps reveal whether reduced circulation comes from obstruction or mechanical loss.
Visible signs include weak return jets, gurgling sounds, and longer fill or turnover times that homeowners report. A professional inspects the pump lid, union fittings, and visible piping for hairline cracks or loose unions. They may use a vacuum gauge and basic continuity checks to confirm suction integrity. For detailed service options, homeowners can review an equipment inspection and maintenance checklist before scheduling.
Some circulation problems come from hidden causes like a failing check valve or trapped air in the line, which homeowners may not notice immediately. In a common situation, a pool that runs quieter but still has low flow will prompt a technician to test the impeller and motor capacitor. They may also inspect the skimmer weir and suction port for blockages or broken parts. Acting on these inspection findings prevents chemical imbalance and reduces algae risk for Laguna Niguel, California and San Clemente, California properties.
Common Causes Of Leaks And How They Occur
Hairline cracks in PVC lines and deteriorated pipe unions often cause slow, steady water loss around equipment. Technicians trace visible damp areas and use a pressure test or dye test to confirm pressurized line leaks. A wet patch near the filter or pump rarely appears overnight, so finding moisture during an inspection helps pinpoint the source. Homeowners might notice increased run time or intermittent gurgling before seeing any standing water.
Leaky pump seals and worn shaft seals are common because they run under heat and pressure daily. An inspector checks the pump housing and motor shaft for oil-like residue and listens for grinding that indicates bearing wear. Replacing a failed seal usually stops external leaks and prevents water ingress that can damage the motor windings. For professional repairs or parts replacement, review available pool equipment services to plan the correct corrective work.
Filter tank cracks or loose clamp bands cause sudden or seasonal leakage when pressure cycles high. Inspectors examine the filter lid o-ring, clamp band tightness, and visible tank material for stress lines or discoloration. A pressure gauge spike during backwash or operation often accompanies tank leaks and helps confirm the issue. In one inspection the record will note the reading, photos, and a recommendation to replace the tank if stress fractures are evident.
Return line fittings, skimmer throat and valve seats can all develop slow leaks from UV degradation or calcium buildup. During inspection a technician inspects skimmer gaskets, return fittings and the check valve for hardening, cracks or loose connections. Simple diagnostic steps include a dye test at the skimmer and a continuity check on accessible valves to see if internal seals hold. Homeowners in Laguna Niguel, California and San Clemente, California should act on these findings to avoid deck saturation and equipment corroding over time.
Identifying Worn Components And When To Replace
Inspectors look for worn components that affect performance, such as impellers with chipped vanes, bearings with play, and corroded spring clips. They visually compare parts to manufacturer standards and note excessive wear or deformation. A technician will record photos and part IDs to recommend specific replacements. Homeowners get clearer cost decisions when the report lists exact failing components.
Seals, gaskets, and O-ring deterioration often show as hardening, cracks, or flattened profiles around lids and unions. To confirm, a pro will remove the seal and test for compression and fit, or run a simple dye test at the connection. Replacing these small parts usually restores proper sealing and prevents larger failures down the line. For more complex replacements or upgrades, consider reviewing pool equipment repair and upgrades.
Sensors and control components may show intermittent faults long before full failure, with symptoms like erratic readouts or delayed responses. A technician diagnoses these by checking voltage at the component, testing continuity, and observing live operation under load. Written readings and test results help decide whether recalibration or replacement is necessary. In many cases swapping a sensor resolves control issues without major mechanical work.
Timing is critical when parts wear, continuing to operate can damage adjacent systems like motors and plumbing. In a common situation, a noisy pump bearing prompts a professional to inspect the motor coupling and shaft for misalignment or scoring. If the inspector finds shaft wear, they will recommend motor service or replacement to avoid seizure. Homeowners in Laguna Niguel, California and San Clemente, California should schedule repairs promptly to limit collateral equipment damage.
Unusual Equipment Performance And What To Check
When equipment behaves oddly, start by noting when the issue appears and what the device is doing differently. Listen for sudden changes like rattling, high-pitched whine, or intermittent shutdowns that suggest electrical or mechanical stress. Check temperature differences on motor housings and pipe fittings with your hand to spot overheating or restricted flow. Record the operating times and any recent changes to pool use or settings to help a technician reproduce the condition.
- Note unusual sounds.
- Watch for inconsistent run cycles.
- Compare temperatures by touch.
- Look for sudden drops in pressure.
- Check for visible vibrations.
A technician diagnosing odd performance will start with basic electrical checks such as voltage and continuity at the motor and control terminals. They may test a capacitor, check the breaker and GFCI, and observe load fluctuations while the pump runs. For mechanical checks they inspect the shaft coupling, impeller clearance, and motor bearings for signs of rubbing or imbalance. These steps help separate electrical faults from mechanical failures before ordering parts or repairs.
Some symptoms point to flow control issues rather than motor failure, such as rapid speed changes or weak returns when valves shift. A pro will verify valve positions, inspect multiport filter settings, and examine automation control outputs. They may also evaluate the pump during a start cycle to see if the motor draws excessive current or stalls, providing diagnostic readings for repair decisions. For motor and bearing work, consider reviewing options like pump motor servicing to understand typical service steps and part replacement needs.
Homeowner observations help prioritize repairs, mention any odors, burn marks, or frequent trips to the breaker when reporting. In a common situation, a pump that hums but won’t start leads a technician to test the start capacitor and then inspect the impeller for blockage. If a motor overheats after short operation, they will check ventilation, shaft alignment, and bearing lubrication.
Why Pump Mechanics Fail And When To Act
Pump failures often start with increased vibration or a steady rise in operating temperature that homeowners can notice by touch. A technician first checks motor voltage and current draw with a clamp meter to confirm electrical stress. They also inspect the shaft coupling and impeller clearance for rubbing that raises load and causes premature wear. If the motor shows insulation damage or repeated overloads, replacement may be the safest long-term option.
Worn bearings produce grinding noises and reduced spin speed before full seizure, which a pro verifies by measuring amp draw and feeling bearing play. Technicians may remove the pump volute to visually inspect the impeller and diffusion vanes for erosion or debris scoring. When mechanical damage exceeds simple bearing replacement, a technician will compare repair cost versus new motor or pump replacement. Homeowners reviewing options can learn about specific tradeoffs from pump replacement options.
Electrical control failures like a bad capacitor or intermittent relay contacts can mimic mechanical problems by causing weak starts or cycling faults. A pro performs voltage checks at the motor terminals and continuity tests on control relays to isolate the source. If automation miscommands the pump, the inspector will test automation outputs and schedule checks for system integration. Consider evaluating the control logic and added features when exploring upgrades to pool automation systems.
Act quickly when you note repeated tripping, oil-like residue near the shaft, or sudden loss of prime, since delayed action risks motor burnout. A professional will confirm diagnosis using amp readings, voltage stability, and a visual inspection recorded in a written report. Timing repairs before full failure protects adjacent equipment like heaters and filters from collateral damage. For properties in Laguna Niguel, California and San Clemente, California, timely action often avoids emergency replacements and higher costs.
Filter Problems Explained And Professional Checks Needed
Filters that run high pressure, make unusual noises, or backwash frequently usually indicate internal restriction or damaged media. A technician inspects the tank, laterals, and multiport valve for hairline cracks and broken laterals that allow bypass. They may perform a pressure differential check across the filter to quantify restriction and note readings in the written report. For visible sediment passing to returns, the inspector may recommend media replacement or deeper cleaning.
Cleaning method choice depends on filter type and observed fouling, with sand, DE, and cartridge systems requiring different checks and care. For sand and DE filters the tech evaluates grid integrity or sand condition and may recommend a controlled backwash or chemical cleaning. They will also check the backwash line, drain, and valve seals to confirm proper flow during cleaning cycles. Homeowners can review guidance on filter cleaning and backwashing to prepare for service.
Cartridge filters get inspected for splits, collapsing end caps, and compressed pleats that reduce surface area and increase pressure. Technicians remove and inspect cartridges under light, looking for trapped oils or scale that simple rinsing won’t remove. They may use a dye or pressure gauge test to confirm bypass around the cartridge and record photos for the report. If cartridges show permanent damage, professionals will recommend specific replacement part sizes and quantities.
Laterals and internal manifolds can fail without external signs but cause sand or DE to reach the pump and heater, risking damage. A pro may run a vacuum and dye test and then open the tank to visually confirm lateral alignment and breakage. They will also measure filter run time and backwash frequency to advise schedule changes that prolong media life. For owners in Laguna Niguel, California and San Clemente, California, addressing these filter issues early reduces strain on pumps and prevents heater fouling.
Developing Issues Detected During Routine Inspections
Routine inspections often catch slow-developing problems like creeping electrical faults that first show as intermittent pump cycling. A technician will note erratic run times and then perform voltage and continuity checks at the motor terminals to confirm unstable power. They may also test the GFCI and breakers for nuisance trips that precede larger failures. Early detection avoids surprise outages during heavy pool use.
- Record fluctuating voltage readings.
- Inspect wiring for corrosion or loose connections.
- Test GFCI and breaker operation.
- Check automation outputs and timers.
Inspections can reveal progressive sealing failures where small amounts of water reach electrical components through pinhole leaks. Technicians use visual checks and moisture meters around junction boxes and motor bases to detect early moisture intrusion. If moisture is present, they will recommend isolating power and scheduling repairs to prevent motor winding damage. Homeowners often notice musty odors or damp pads before equipment shows clear electrical symptoms.
Structural stress that eventually cracks filter tanks or pump housings may appear as tiny stress lines during inspection long before visible leaks develop. A pro inspects for surface crazing and records photos and pressure readings to monitor growth over time. They may suggest scheduled replacement or reinforced supports to prevent sudden failure under pressure cycles. For properties in Laguna Niguel, California small defects caught early reduce the chance of emergency replacement during peak season.
Inspections also pick up slowly failing control sensors that drift out of calibration and cause incorrect heating or chemical dosing. A technician will compare sensor readings to independent handheld meters and run simple calibration checks to confirm accuracy. When a sensor shows drift, replacing or recalibrating it keeps automation functioning and prevents chemical imbalances or heater cycling. For San Clemente, California homeowners, addressing these sensor issues reduces wasted energy and chemical costs.

Preventive Maintenance Steps Homeowners Can Do
Simple, regular tasks reduce the chance of small faults becoming major repairs and keep equipment running efficiently. Clean pump baskets and skimmer nets weekly to prevent debris from entering the impeller and causing imbalance. Check visible unions and threaded fittings for snugness and re-tighten only when the system is off and depressurized. Record any recurring looseness so a professional can inspect the joint for underlying pipe stress or misalignment.
Monitor filter pressure and log readings after cleanings to spot gradual increases that indicate media degradation or bypass. Rinse cartridge elements with a hose at low pressure and allow them to dry fully before reinstalling to discourage biological growth. For sand and DE systems, follow the manufacturer backwash schedule and note unusual return cloudiness that could indicate laterals needing inspection. If your heater controls seem inconsistent, review basic user settings and consider a professional heater check if problems persist.
Inspect electrical connections at time switches and junction boxes for corrosion, tightness, and proper covers to prevent moisture entry and arcing. Test GFCI devices monthly by pushing the test and reset buttons to confirm they trip and restore power correctly. Watch for vibration or new noises during run cycles and feel motor housings for hot spots that suggest bearing stress or airflow restriction. In a common situation, a homeowner who notes intermittent heater cycling will have a technician verify thermostat wiring and combustion airflow during the service visit.
Maintain pool water balance to reduce scaling and corrosion that damage heaters, pumps, and sensors over time, and log chemical readings weekly. Keep vegetation trimmed away from equipment pads to reduce organic debris and shade that traps moisture around electrical boxes. Lubricate O-rings with an approved silicone lubricant when reassembling lids and unions to extend their life and maintain seals. For heater-specific maintenance and annual checks, review guidance on heater maintenance and repair before scheduling service in Laguna Niguel, California or San Clemente, California.
Frequently Asked Questions
What do pool equipment inspections check for first?
Technicians start by checking circulation and filtration components like the pump, filter, skimmer, and return lines for proper flow. They inspect visible seals, unions, and pipe joints for signs of leaks or water damage. They test electrical safety elements such as the GFCI, wiring, and motor sounds for abnormal operation, if you detect burning smells or sparking, stop use and call a professional. Finally, they note wear on bearings, seals, and valves to recommend maintenance before failures occur.
How do pool equipment inspections find leaks?
Inspectors start by checking visible fittings, valves, and pipe joints for moisture, corrosion, or mineral buildup that indicate leaks.
They run the pump and watch pressure gauges and flow rates for drops that suggest hidden leaks in plumbing or equipment.
Technicians may use a dye test, moisture meter, and pressure test to confirm leaks without guessing their location.
If electrical hazards or pressurized lines are present, stop and call a licensed professional to diagnose and repair safely.
Which noises or smells indicate failing pool parts?
Grinding or screeching from the pump often signals a failing bearing or motor issue that pool equipment inspections can confirm. A high-pitched whistle or bubbling near the pump or heater may indicate an air leak in suction lines or a cracked fitting. Rotten-egg or sulfur smells near gas heaters or gas lines require immediate caution because they can indicate a gas leak, shut off gas and call a professional. Chlorine or metallic chemical odors combined with cloudy water often point to chemical feeder malfunctions or corroded heat exchanger components.
What tests confirm circulation or flow problems?
Technicians confirm circulation issues by measuring pump flow and pressure with a flow meter and pressure gauge at the pump basket. They observe pump strainer suction and return fittings for air leaks or restricted returns while the system runs. A dye test and visual inspection of skimmer and return flow patterns help identify hidden leaks or blocked lines. If electrical or high-pressure risks exist, stop and call a professional to avoid injury or equipment damage.
When should I schedule an equipment inspection?
Schedule an equipment inspection at least once per season to catch wear before heavy use. Arrange an inspection promptly if you notice unusual noises, reduced flow, or cloudy water. Call a professional right away for electrical smells, persistent leaks, or tripped GFCI to avoid safety hazards. For properties in San Clemente, California, plan inspections before summer and after storms to address developing issues early.